Hello, and welcome to another quick Marmoset Toolbag tutorial.
If you prefer to see the video tutorial here it is:
How to Render Depth of Field in Marmoset Toolbag 4?
The Basics
In today’s tutorial, we will explain how to use the depth of field inside of Marmoset Toolbag.
Let’s begin with this scene. We have a character and some simple lighting.
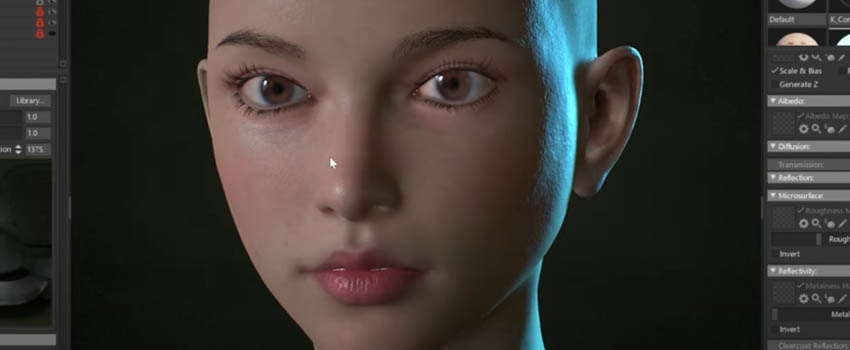
Note that we are using “Ray Tracing”. If you don’t have it enabled, go to the “Render” menu and enable “Use Ray Tracing”.
There is a Sky element lighting the scene and one blue rim light.
How do I enable Depth of Field in Marmoset?
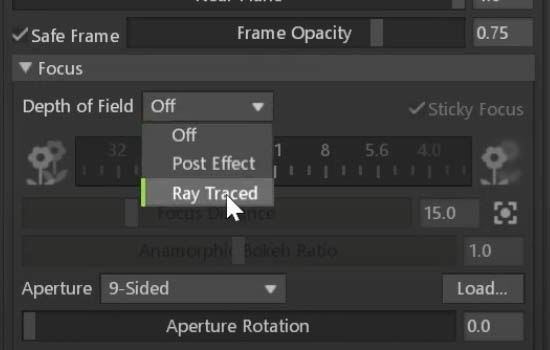
To enable the Depth of Field, you have to go to the “Focus” section inside the camera settings.
For this tutorial, we will use the “Ray Traced” option.
Probably, the image is completely blurred. This is because the focal distance is too close to the camera.
Focal Distance
Remember that the focal distance is the distance between the sensor or film inside the camera and your subject.
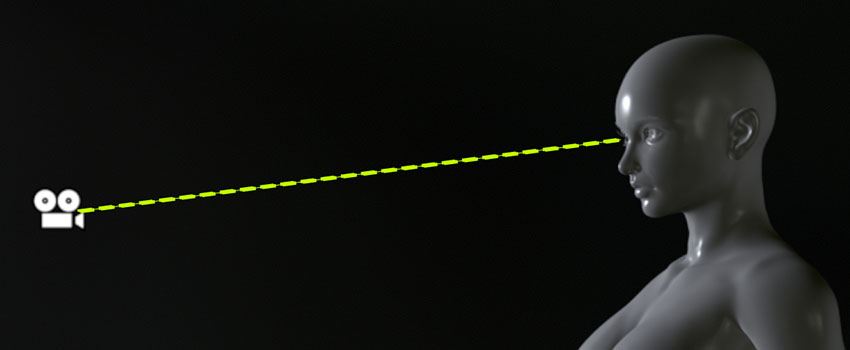
You can adjust the focal distance using the “Focus Distance” slider. You can pick the focal point with the icon at the right of the slider to be even more accurate.
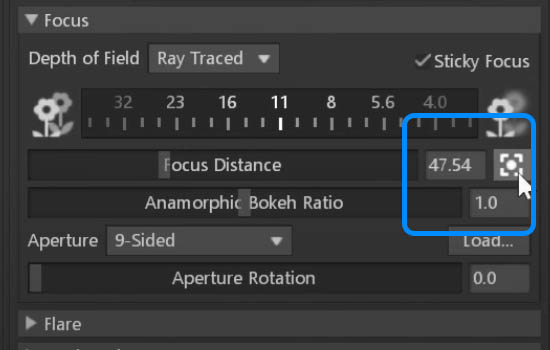
Let’s click here and then click on the viewport in the exact area you want to set the focal distance. In this case, near the eyes.
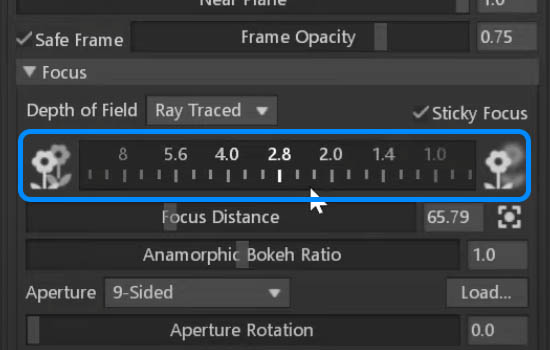
Now, we can see some blurring in the ears. Let’s increase the blur amount by changing the aperture.
Using the Aperture Dial, we will decrease the value, making the depth of field shallower. I will go with an aperture of around 4.
If you set a lower value, the effect is stronger. But let’s set it to 4 for this particular example.
Background Elements
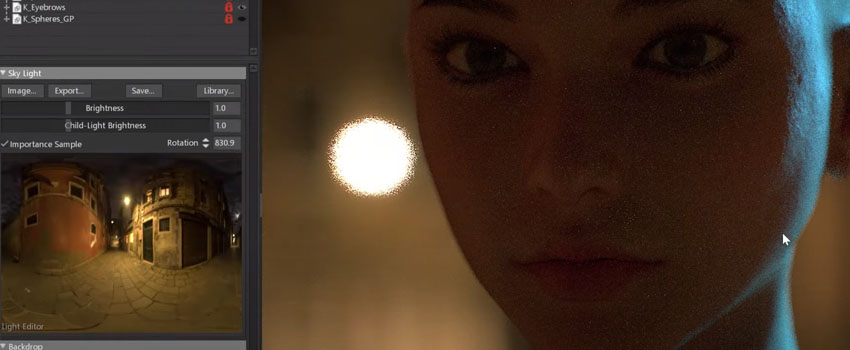
To make the depth of field even more noticeable, I will add some elements in the background.
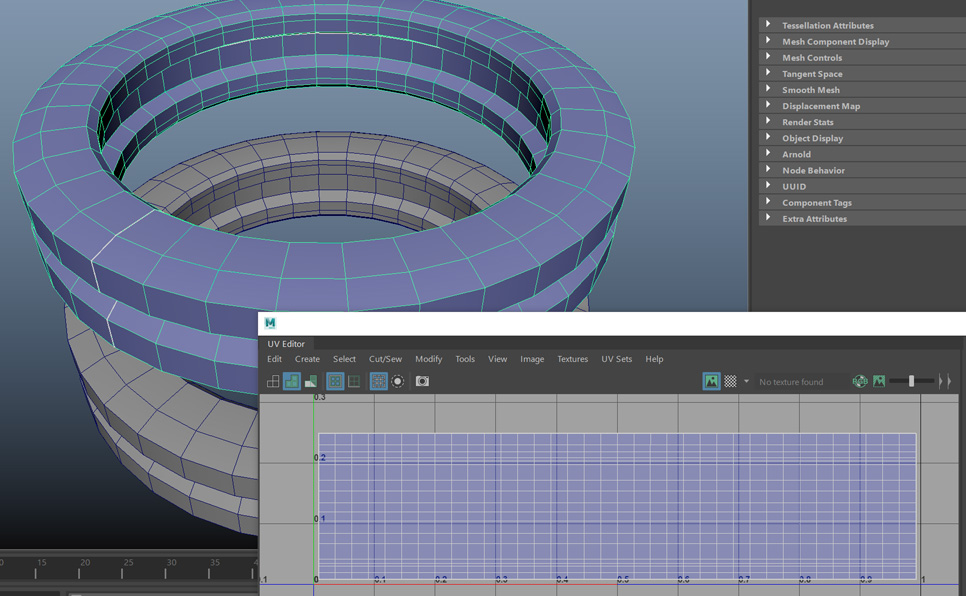
I created a few small spheres in Maya and imported the FBX into the scene. As you can see, I disabled the Depth of Field for now, so we can see the difference.
I’m using an emissive material to make the spheres very bright.
Let’s enable back the depth of field. Immediately you can see the bokeh caused by the spheres. This helps our character to stand out more in the composition.
If you go to the aperture dropdown, you can change the shape of the bokeh.
There are many shapes you can choose. From the standard bladed aperture to some unusual shapes like stars, bubbles, or hearts.
The Depth of Field also affects the Sky texture.
You can choose a few different sky textures from the library to see how the background is also out of focus.
Anamorphic Bokeh
Finally, I would like to discuss the Anamorphic Bokeh Ratio.
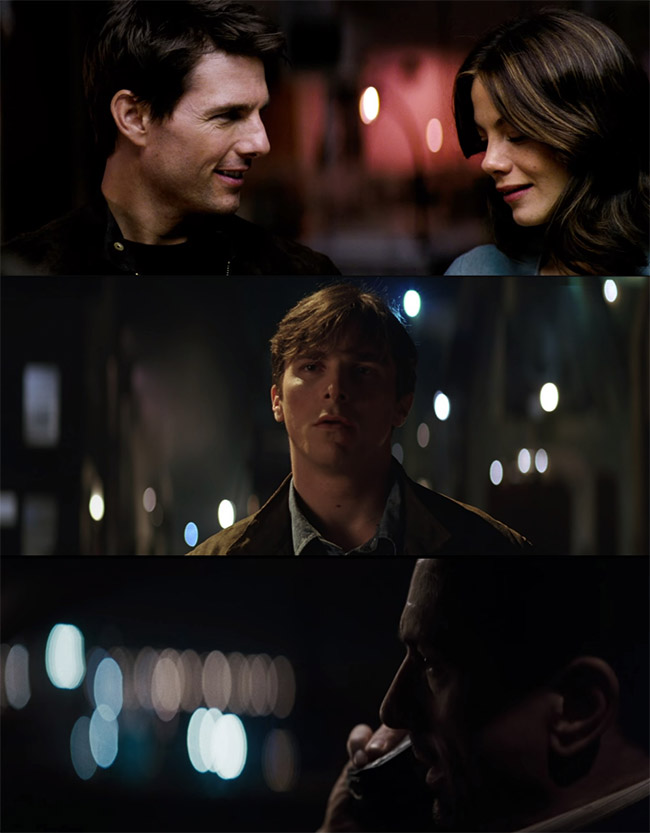
When anamorphic lenses are used in real life, the image is squeezed horizontally, making the bokeh a vertically shaped oval.
Here are some examples of oval bokeh in movies.
Back to Marmoset.
We can emulate this oval bokeh by increasing the Anamorphic Bokeh ratio.

Here is the anamorphic trademark, a vertical oval. If we decrease the value, it will have the inverse effect, making the oval stretch horizontally.
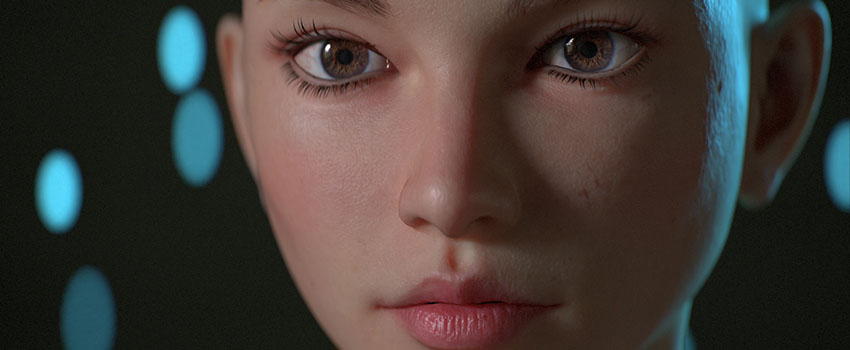
Final Render
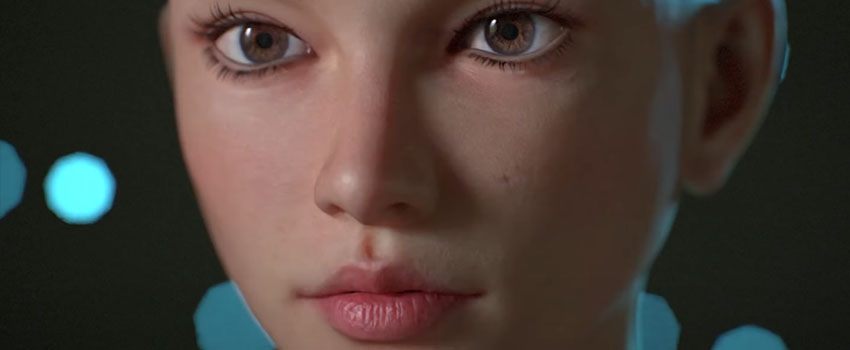
Here is the final render.
That’s it for today’s video. So, thank you for watching all the way to the end, and please don’t forget to like the video and subscribe to see more content like this.
Thank you and until the next time.

Nyx is an editor at Vertex Mode and a passionate 3D artist with years of experience in both gaming and film. With a deep love for digital art and visual storytelling, Nyx brings a unique blend of technical expertise and creative vision to every project. From sculpting detailed characters to designing immersive environments, their work reflects a commitment to pushing the boundaries of what’s possible in 3D design.
At Vertex Mode, Nyx not only oversees content but also shares valuable insights into the world of digital art and the creators behind it. They believe that every artist has a story worth telling, and through thoughtful articles and features, Nyx highlights the talent, challenges, and inspiration that shape the creative industry. Their perspective as a working 3D artist allows them to connect with readers in a way that feels both authentic and relatable.
Nyx’s expertise spans across concept development, modeling, and animation for both gaming and cinematic experiences. By blending artistry with technical precision, they continue to explore how digital tools can unlock new creative possibilities.
Through Vertex Mode, Nyx aims to inspire both aspiring and professional creators, offering resources, insights, and encouragement to thrive in the ever-evolving world of digital art.