Creating a realistic Wool Knit material in Substance Designer involves several steps, including understanding the characteristics of wool knit, creating the base pattern, adding details, and fine-tuning the material. Below is a detailed tutorial on how to achieve this:
Understanding Wool Knit Characteristics
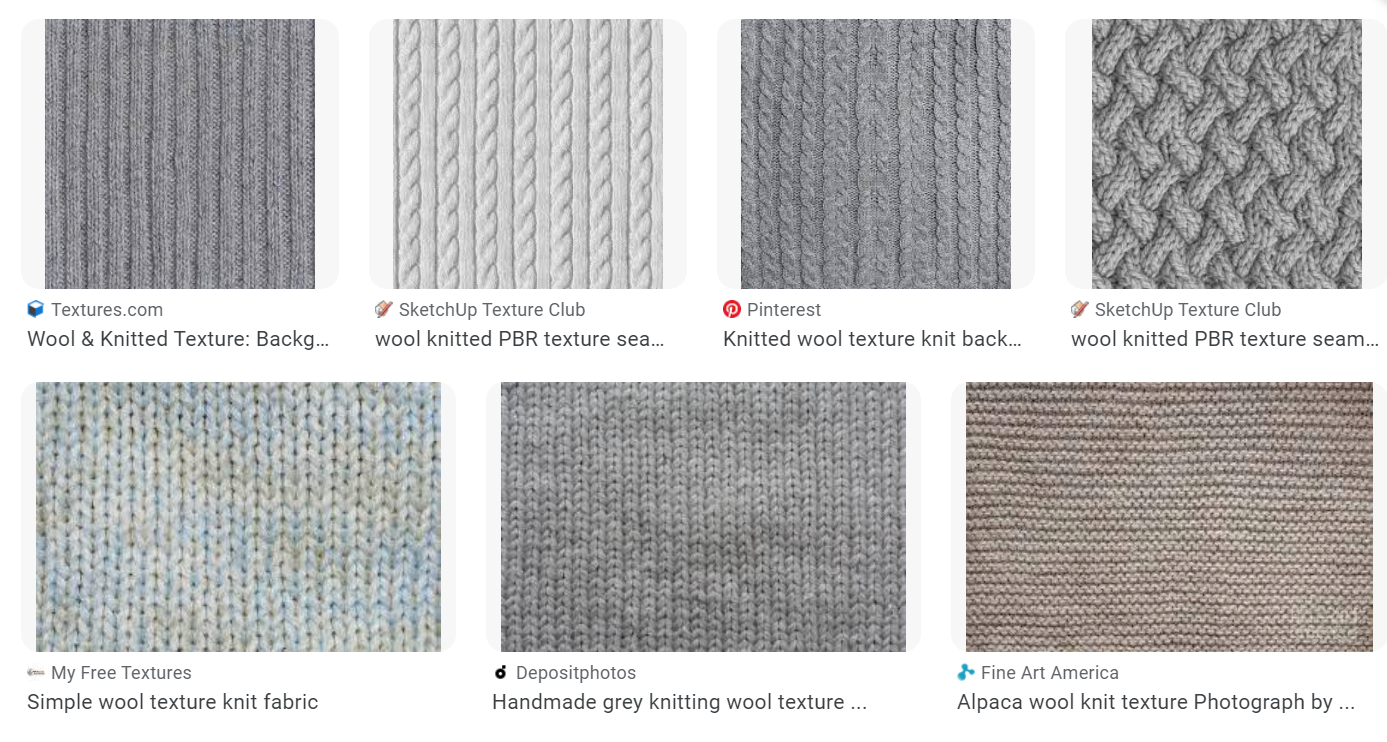
Before you start, it’s essential to understand the characteristics of wool knit materials. The wool knit is characterized by its soft, textured appearance with visible loops and irregularities.
The material often has a slightly fuzzy surface due to the natural fibers of wool. Keeping these characteristics in mind will help you create an accurate representation.
Setting Up Your Project
Even if you are a complete beginner in Substance Designer you will be able to follow this process and create an advanced knit texture from scratch.
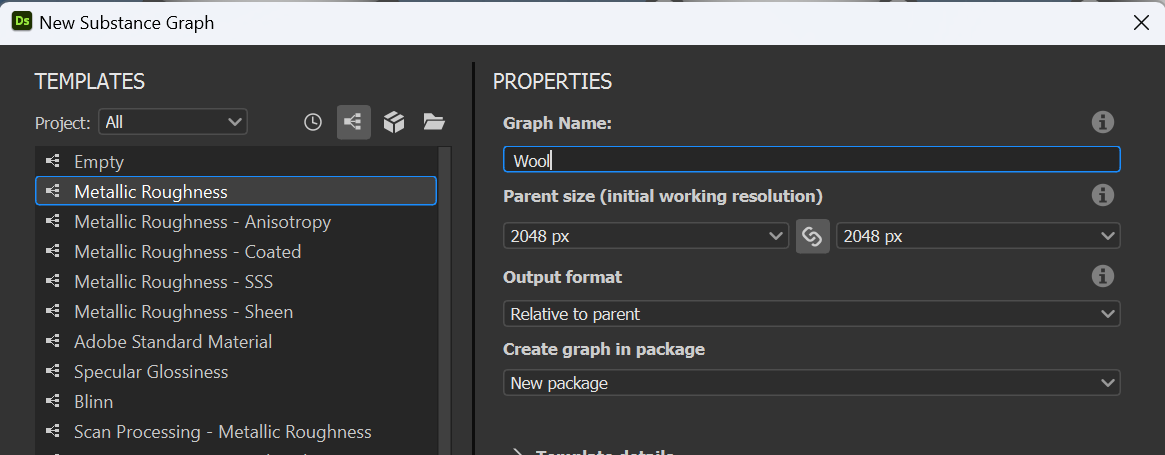
- Open Substance Designer and create a New Substance Graph.
- We will use the “Metallic Roughness” template for this tutorial.
- Set your project settings. A resolution of 2048×2048 pixels is good enough.
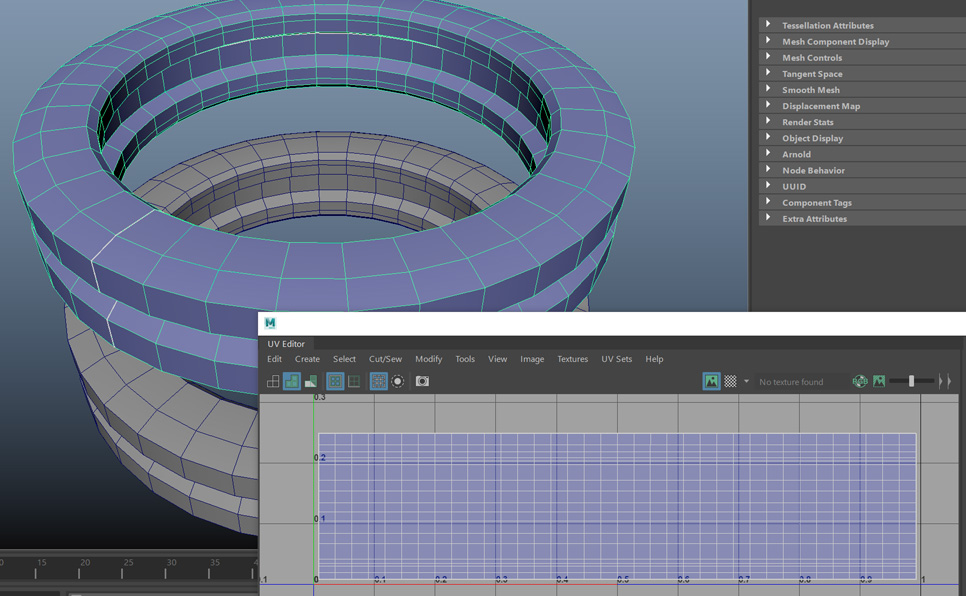
Creating the Base Shape
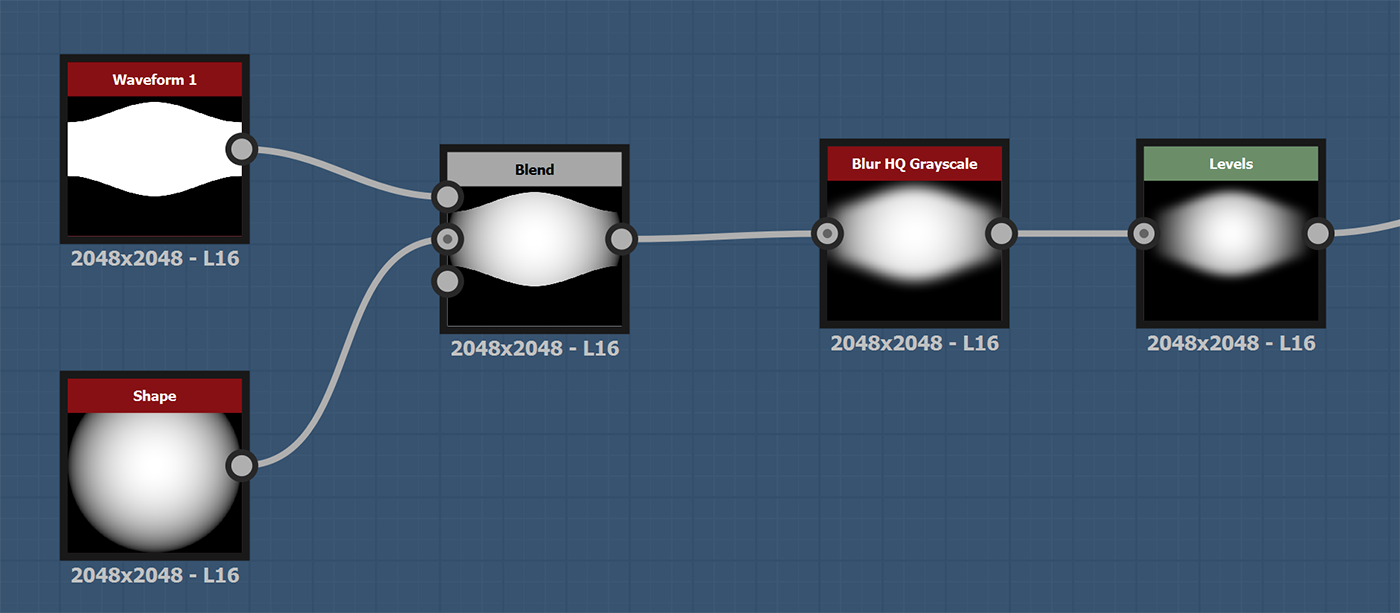
- Create a waveform node and make the shape as in the image above.
- Create a shape node and choose “Hemisphere” as the pattern.
- Join these two nodes with a “Blend” using “Multiply” as the blending mode. make sure the edges of the waveform have a gradation.
- Apply a Blur HQ Grayscale with an intensity of 16.
- To tune the thread’s shape, add a “levels” node.
Adding details to the thread
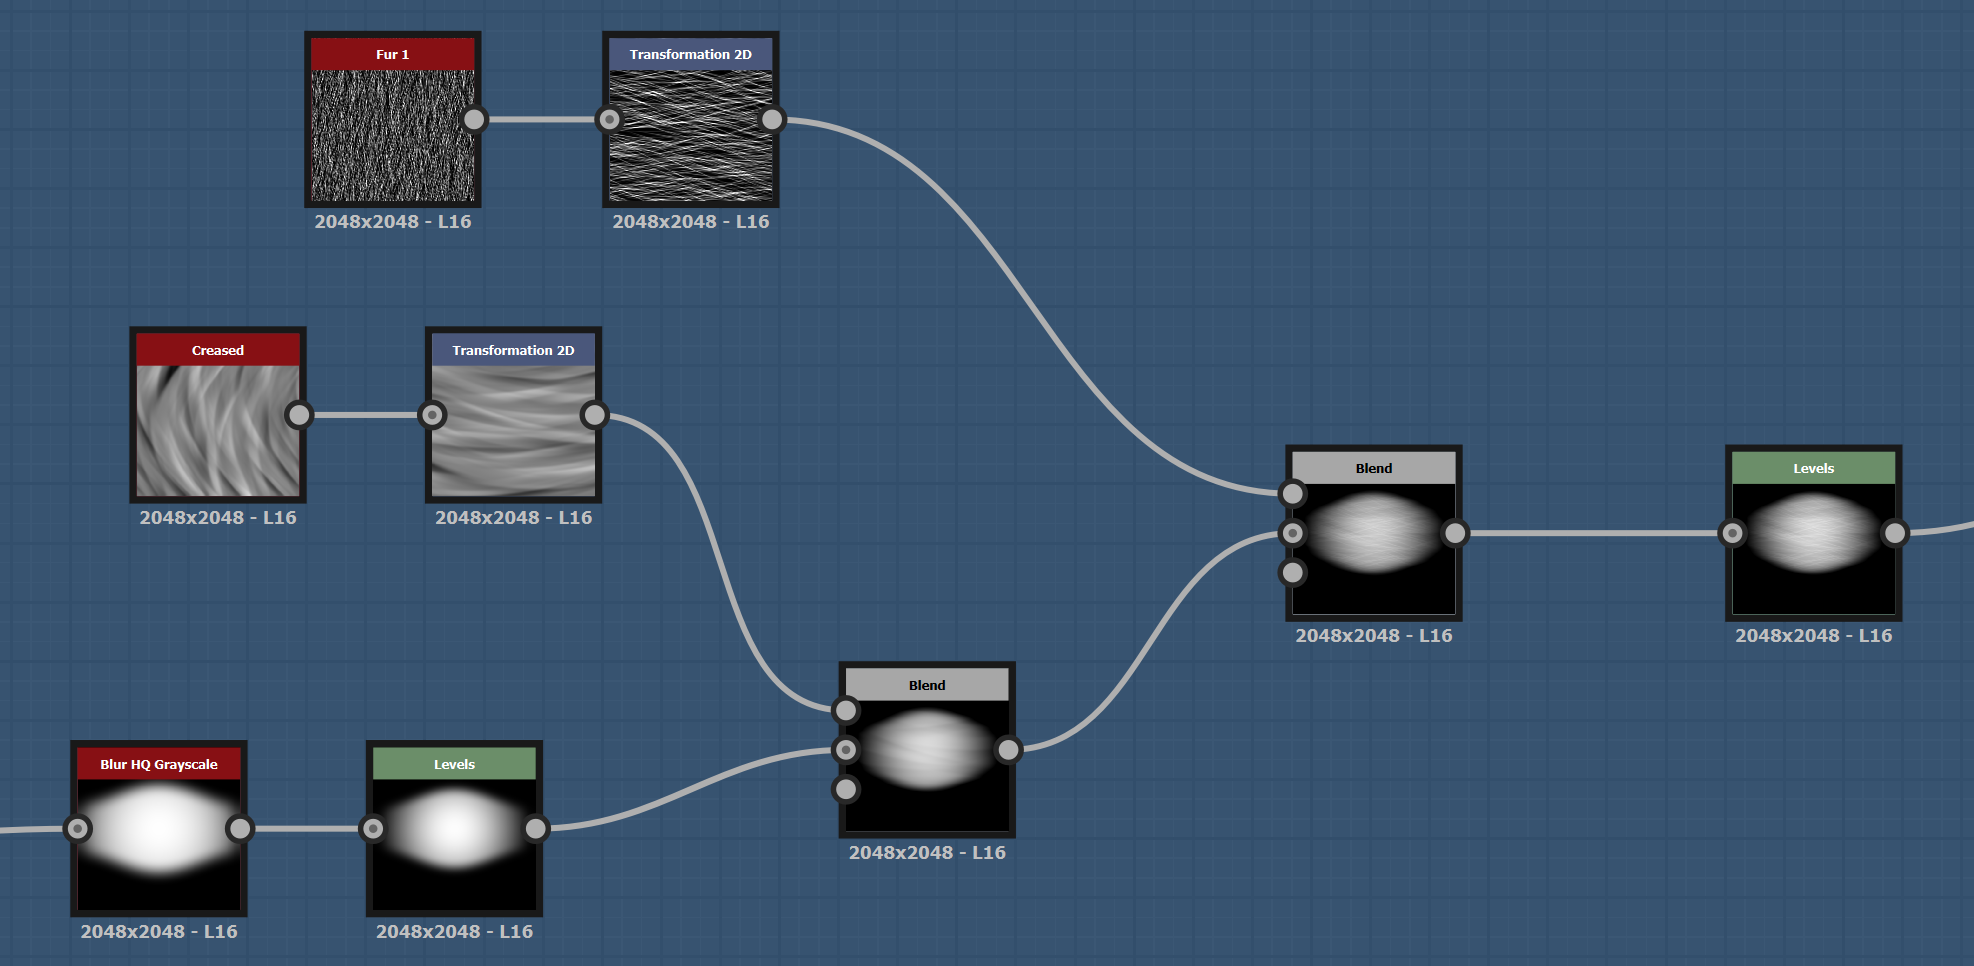
- Create a “fur_1” node and a “creased” node.
- Using a “Transformation 2D” node rotate each one 90 degrees so the direction of the lines is horizontal.
- Add a Blend to connect the creased node using the Subtract blending mode.
- After that, add another blend to connect the fur node. This time use the Min (Darken) blending mode.
- The opacity on both blend nodes should be very subtle, less than 0.25.
- Add another “levels” node to do minor adjustments.
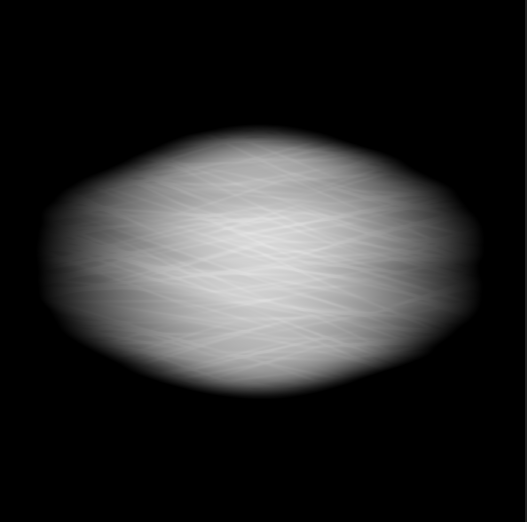
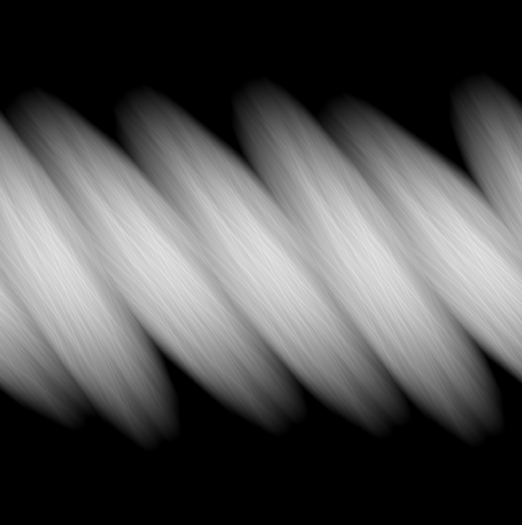
- This completes the Base Shape part. The result should look like the following image.
Create the pattern
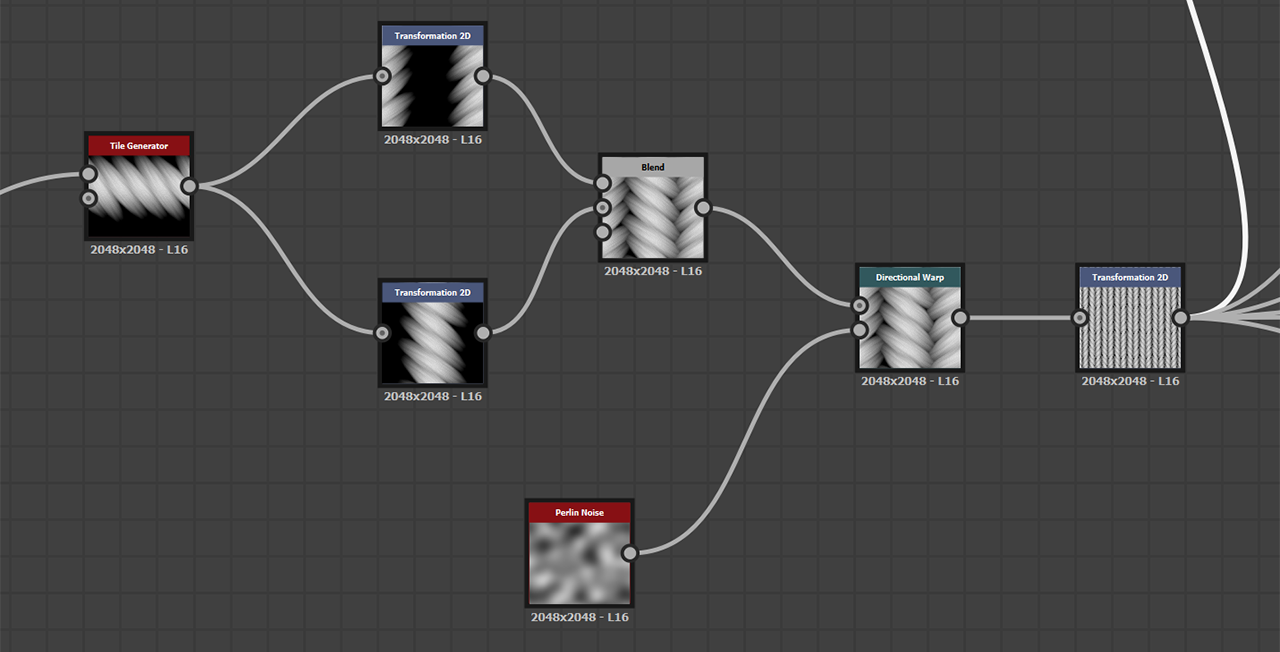
- Connect the result of the “Levels” node to a new “Tile Generator” node.
- Use “Image Input” as the pattern and in the instance parameters, set the X value to 5 and the Y value to 1.
- Play with the Size and Rotation values to get closer to the following image:
These are the settings I used:
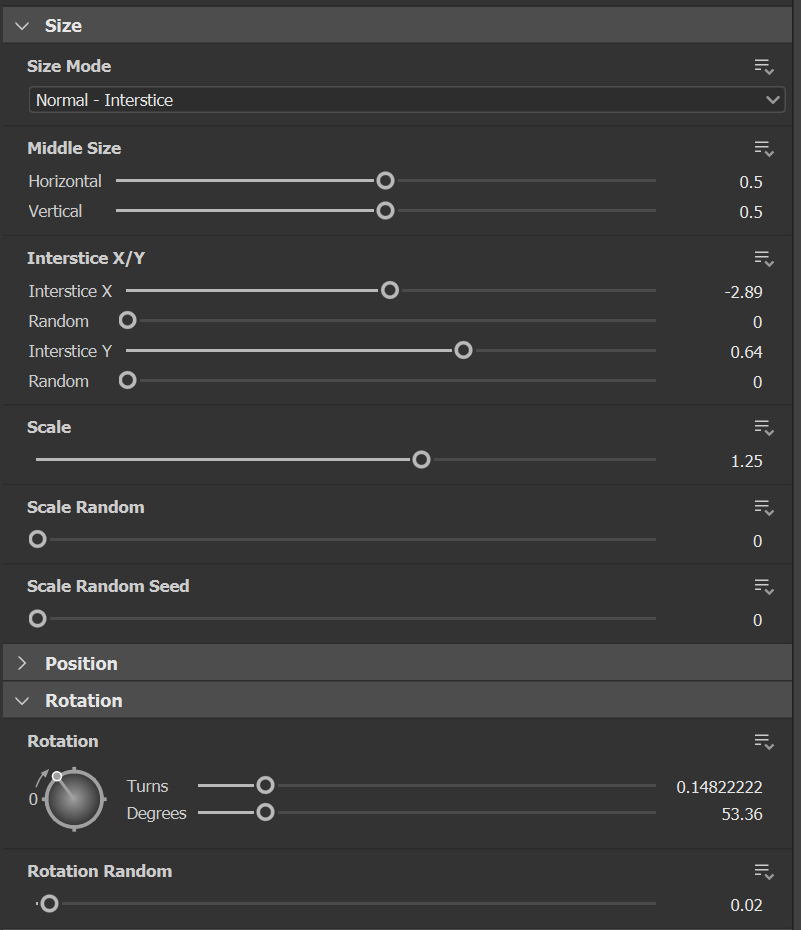
Add 2 new “Transformation 2D” nodes and connect the result of the Tile Generator to the input of both.
Use the Offset X on each node to get the following result:
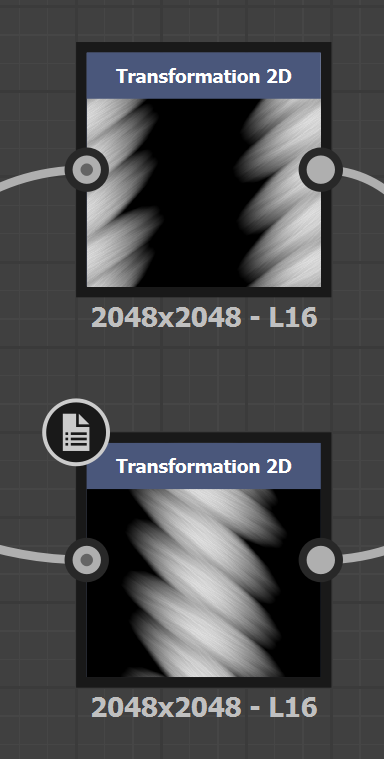
Then, merge these two nodes using a Blend with Max (Lighten) as the blending mode.
To add some randomness to the pattern, add a “Directional Wrap” node and use a “Perlin Noise” as the Intensity Input.
Follow this with another “Transformation 2D” node to tile the pattern a couple of times.
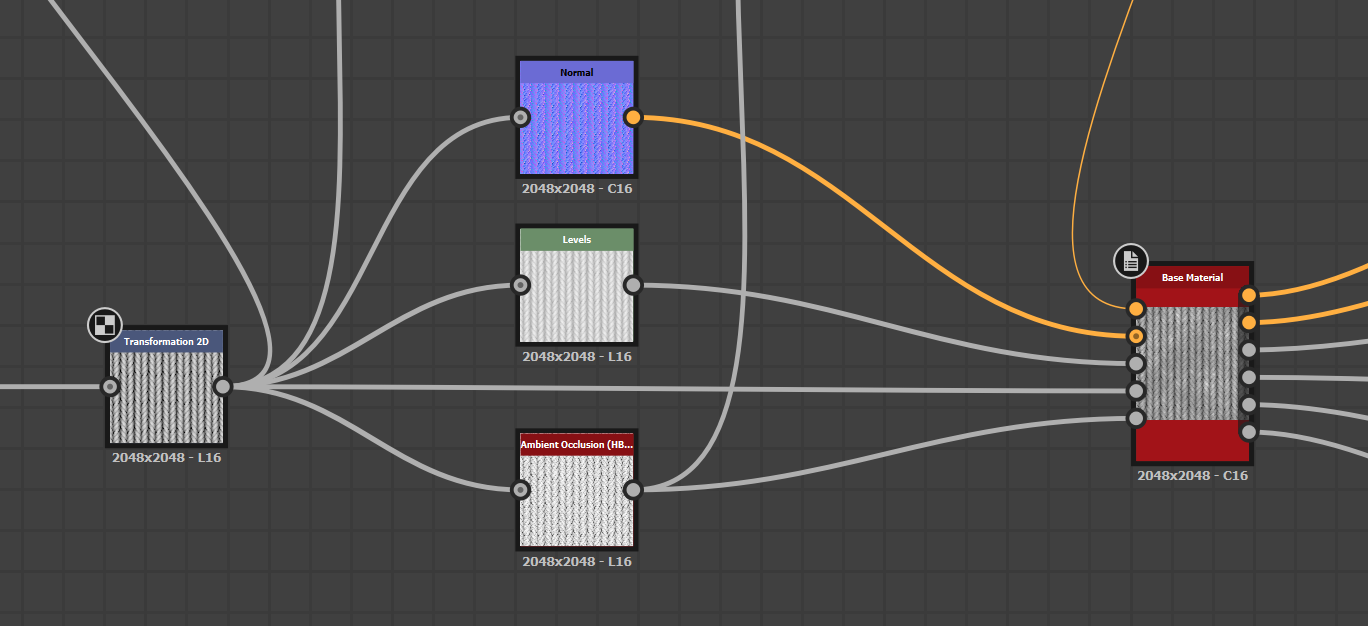
Normal, Roughness and Occlusion
- Create a Base Material node.
- Then create Normal, Levels, and Ambient Occlusion nodes.
- Connect the pattern result to each of these 3 nodes.
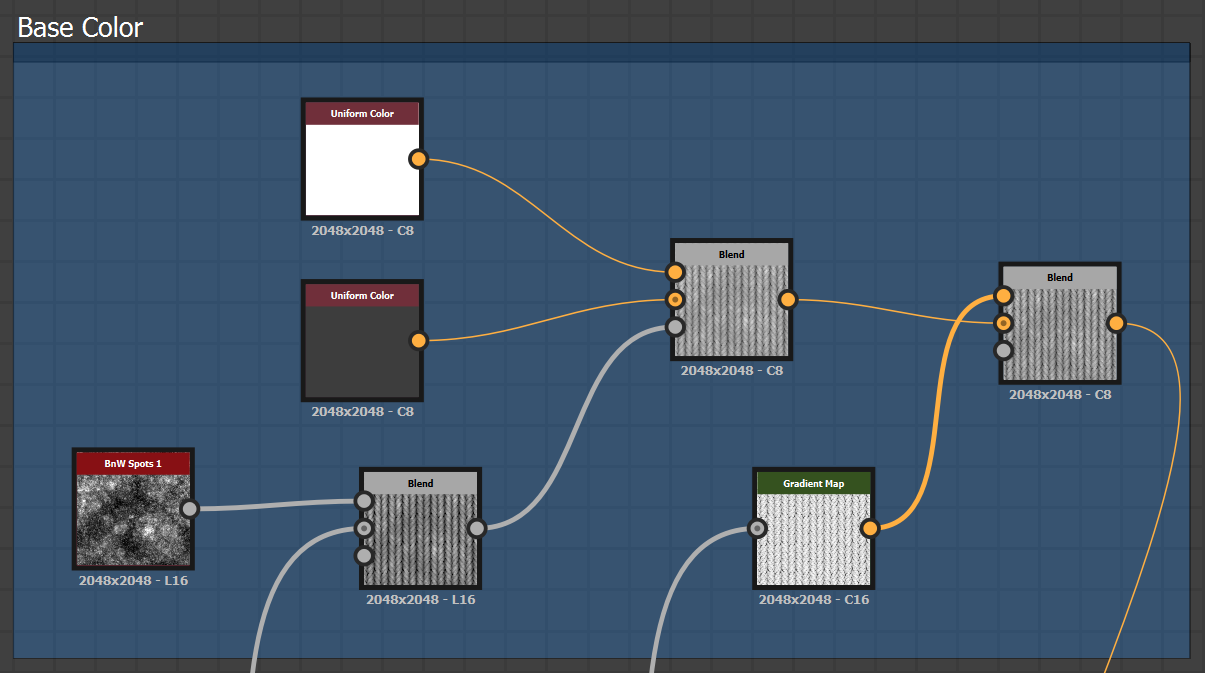
Base Color
Iteration and Refinement
Creating a realistic Wool Knit material might require multiple iterations and adjustments. Continuously refine your material by tweaking parameters, adding additional layers of detail, and experimenting with various nodes and techniques.
Remember that Substance Designer offers many nodes and tools, so don’t hesitate to explore and experiment to achieve the desired result. Also, reference real-world wool knit textures and images to ensure your material closely resembles the real thing.
Download the Pre-Made Wool Knit Material
If you’d like to skip the tutorial and get a ready-made Wool Knit material in Substance Designer format, you can download it from the following link:
This pre-made material includes all the necessary maps and settings to achieve a realistic wool knit appearance in Substance Designer. Feel free to study it, modify it, or use it in your projects as needed. If you have any questions or need further assistance, don’t hesitate to reach out.
Happy designing!
Nyx is an editor at Vertex Mode and a passionate 3D artist with years of experience in both gaming and film. With a deep love for digital art and visual storytelling, Nyx brings a unique blend of technical expertise and creative vision to every project. From sculpting detailed characters to designing immersive environments, their work reflects a commitment to pushing the boundaries of what’s possible in 3D design.
At Vertex Mode, Nyx not only oversees content but also shares valuable insights into the world of digital art and the creators behind it. They believe that every artist has a story worth telling, and through thoughtful articles and features, Nyx highlights the talent, challenges, and inspiration that shape the creative industry. Their perspective as a working 3D artist allows them to connect with readers in a way that feels both authentic and relatable.
Nyx’s expertise spans across concept development, modeling, and animation for both gaming and cinematic experiences. By blending artistry with technical precision, they continue to explore how digital tools can unlock new creative possibilities.
Through Vertex Mode, Nyx aims to inspire both aspiring and professional creators, offering resources, insights, and encouragement to thrive in the ever-evolving world of digital art.