Introduction
Welcome back to Vertex Mode.
Today, we’ve got a quick and handy tutorial specifically tailored to 3D artists working on their portfolios.
We will learn how to render Ambient Occlusion (AO) in Marmoset Toolbag 4.
Ambient Occlusion adds depth and realism to your models by simulating the soft shadows that occur in crevices and where objects meet.
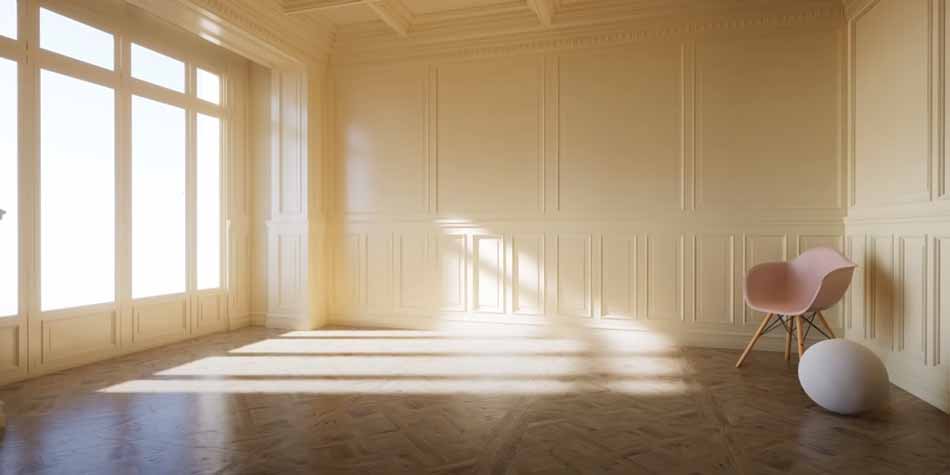
Here, we can see the difference between the sequence with AO enabled and with AO disabled.
So, let’s dive right in!
Setting Up Ambient Occlusion in the Viewport
First, let’s discuss enabling Ambient Occlusion in your Marmoset Toolbag 4 viewport. This straightforward process lets you see the AO effect in real-time while you work.
- Open Marmoset Toolbag 4 and load your scene.
- In the upper left corner of the viewport, you’ll find dropdown menus for the Camera and the Viewport Display Quality.
- Click on the “Display” dropdown, which is likely set to “Full Quality.”
- Next, navigate to “Render Passes,” then “Lighting,” and finally select “Ambient Occlusion.”
This will allow you to see the AO in the viewport, but it will not be included when you render the image or sequence. Let’s switch back to “Full Quality” and learn how to render the AO pass.
How to Render Ambient Occlusion in Marmoset Toolbag 4
You’ll need to access your render settings to include Ambient Occlusion in your final render.
Follow these steps:
- Select the Render Node:
- In the Scene panel, select the Render node.
- Configure Render Passes:
- Scroll down until you find the “Render Passes” section.
- Click the “Add New” button and select “Ambient Occlusion” from the list.
- This will create a new render pass specifically for AO.
- Adjust AO Settings:
- You can tweak the settings for the AO pass by clicking the gear icon next to it.
- Adjust the Strength and Ray Distance to get the desired effect for your render.
- Render Your Scene:
- Once everything is set up, click on the “Render” button. Marmoset Toolbag 4 will process the scene and save the Ambient Occlusion pass in your output folder.
Conclusion
And there you have it, a quick guide on rendering Ambient Occlusion in Marmoset Toolbag 4.
It’s a fantastic way to add depth and realism to your models, making them stand out in your portfolio and giving potential employers more information about your texturing and shading skills.
Happy rendering!

Nyx, Editor at Vertex Mode, is also an experienced 3D Artist in gaming and film, sharing insights on Digital Art and its creators.

