Welcome to our latest breakdown featuring Project HANA, a captivating endeavor brought to life by the talented 3D Artist Walter Leon.
Amidst his busy schedule as a Lead Environment Artist at an undisclosed company located in Tokyo, Japan and after a 2 year hiatus of personal projects, Walter poured his creative energy into crafting this project during his spare time.
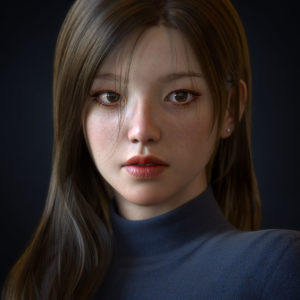
Project HANA is a testament to Walter’s passion for digital artistry and his unwavering dedication to pushing the boundaries of 3D Character Design. This ambitious undertaking revolves around the creation of a captivating digital human, poised to become a versatile asset for a myriad of projects yet to unfold.
Let’s delve into the creation process of Project HANA, exploring the journey behind its conception and the craftsmanship that went into developing this interesting project.

Concept and References
How the project started? Walter shared the inspiration behind Project HANA.
He was intrigued by the rise of digital influencers and saw an opportunity to explore this phenomenon through his own creative lens.
With the vision of crafting a digital human capable of versatile applications in advertising, social media content, and beyond, Walter embarked on a journey fueled by curiosity and innovation.


To inform his creative process, Walter delved into a vast array of references, including photographs and 3D portraits from esteemed artists such as JieMing You, Sanhanat Suwanwised, Yi Jiang, and others.
Drawing inspiration from their work, he meticulously curated a reference board using BeeRef, an open-source alternative to PureRef, to guide the development of Project HANA.
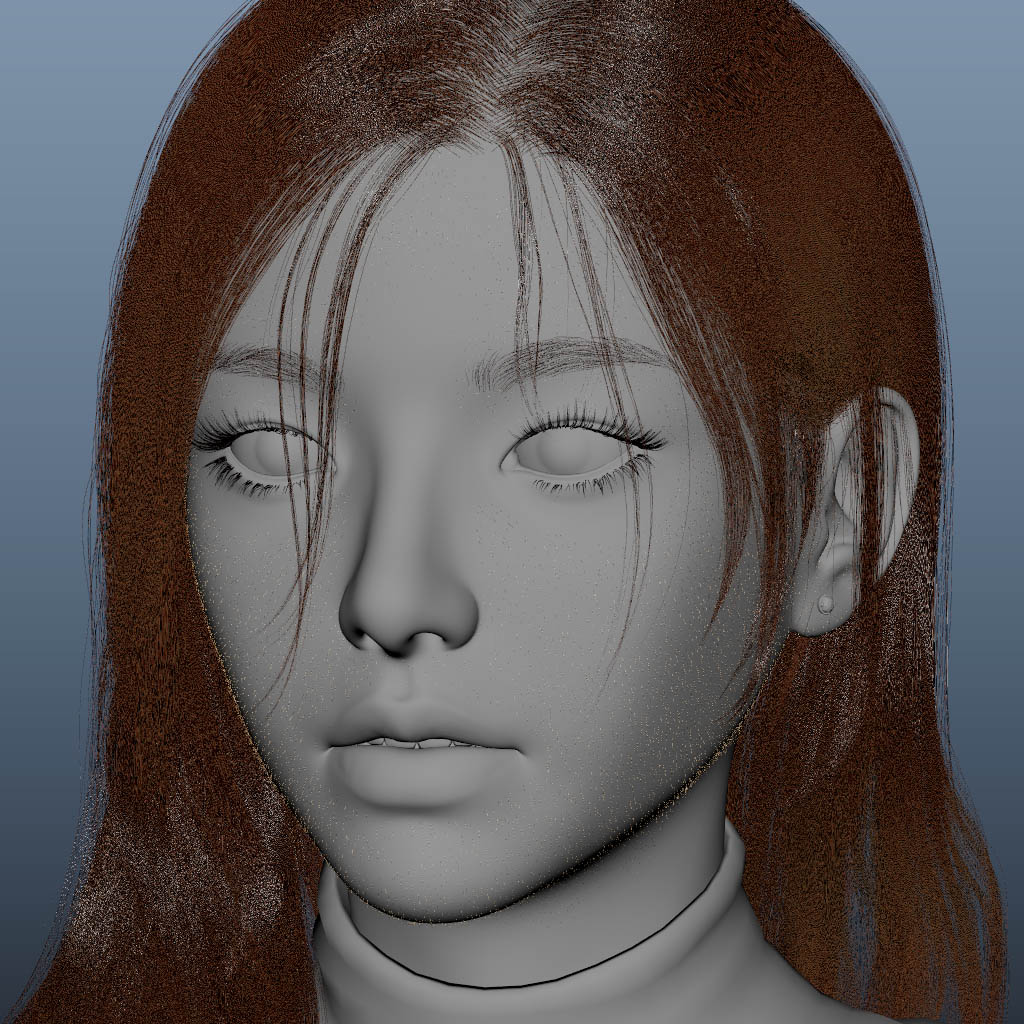
Modeling and Sculpting Details
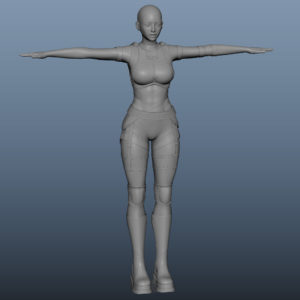
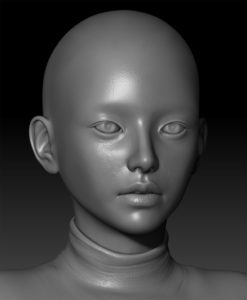
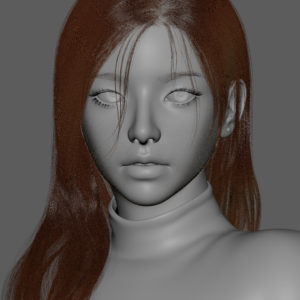
Using his own base mesh, Walter created the HANA model using Maya and ZBrush.
The process is not linear, according to Walter, there are many iterations between Maya and ZBrush in his workflow. Even after he moves on to the texturing and other steps, he reviews the model and goes back to make adjustments.
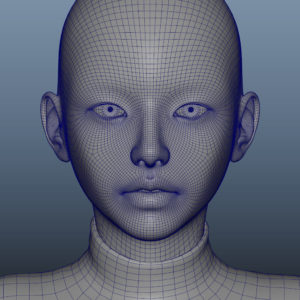
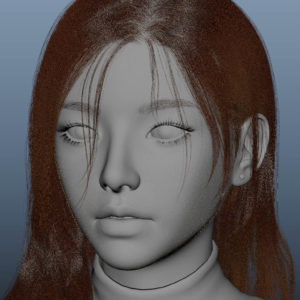
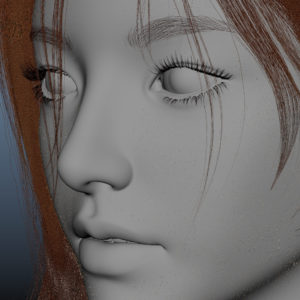
The most challenging part of the sculpting process were the eyes and the lips. Walter mentioned that on previous projects, he had difficulty with the face details.
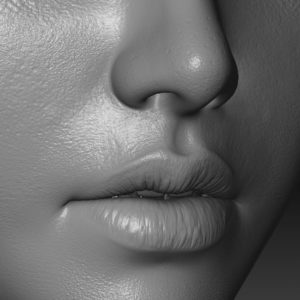


The skin details were created a Free Brush Pack that provides a great variety of skin patterns.
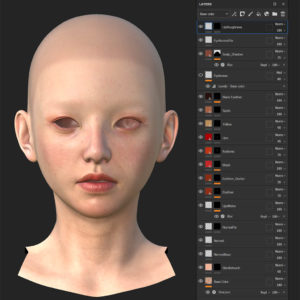
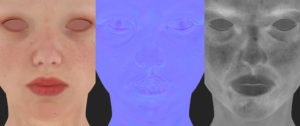
Texturing HANA
Creating the Maps with Substance Painter
The textures were done in Substance Designer using a combination of methods:
- XYZ Textures as a base for the color and roughness.
- Painted details in Substance Painter.
- The normal map was created with the projection of the high poly mesh.


Creating the Displacement Map with ZBrush
To create the Displacement Map, Walter used the “Multi Map exporter” option in ZBrush.
The Head sculpt has 7 subdivision levels with a total of more than 33 million polygons for the highest level. To create the displacement map the level 2 was used as a target for the projection.
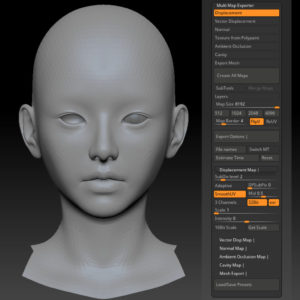

These are the export options used for the Displacement Map:
- Map Size of 8192 so the map has enough resolution for the small skin details.
- Target Subdivision Level is number 2.
- Remember to enable Smooth UV.
- Use 32-bit EXR.
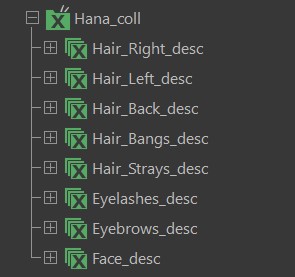
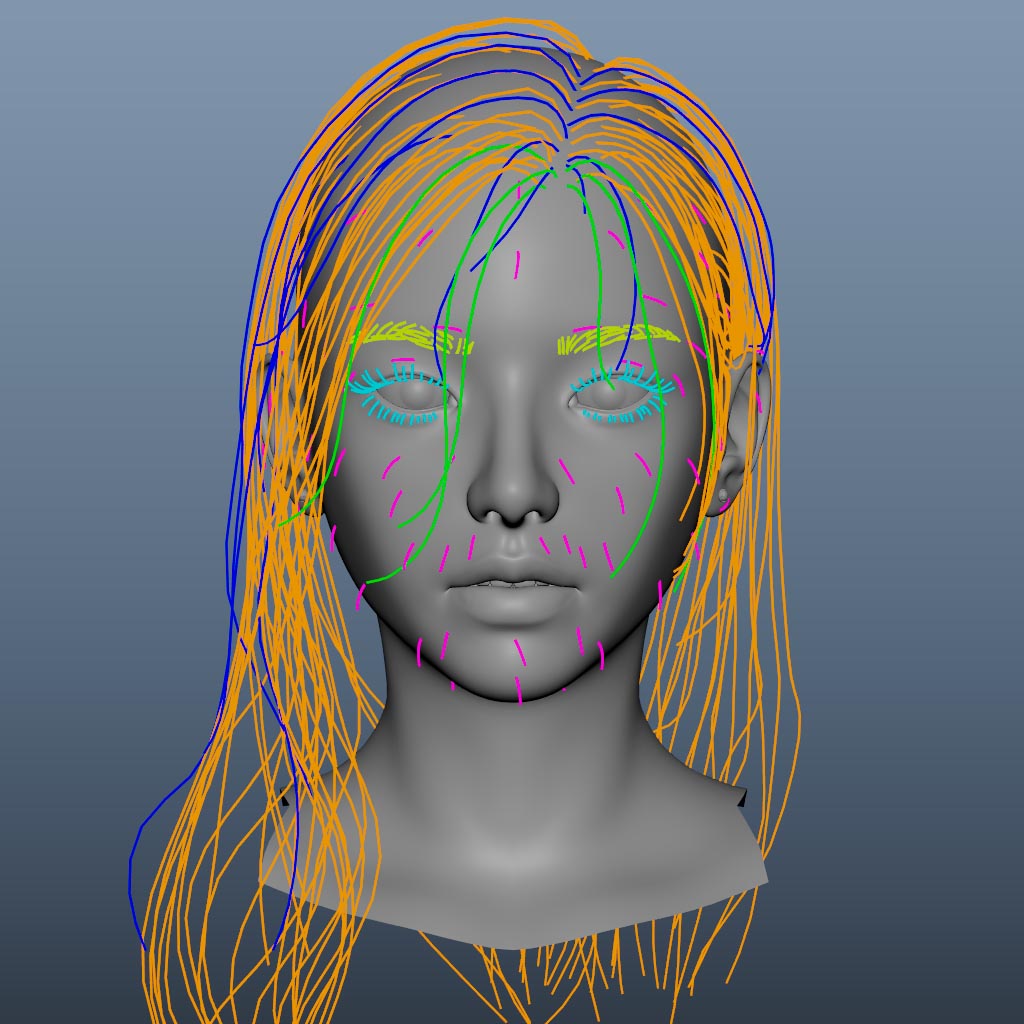
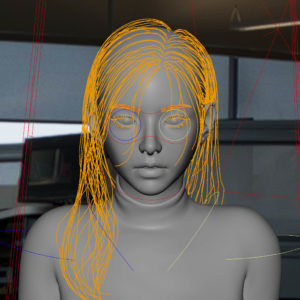
Creating the Groom with Xgen
In the process of creating realistic hair for Project HANA, even though he has a lot of experience using Ornatrix, Walter decided to use XGen this time.
With XGen, he created a total of 8 descriptions to cover all the details of HANA’s groom.
- Main – Right
- Main – Left
- Main – Back
- Bangs
- Strays
- Eyelashes
- Eyebrows
- Peach Fuzz
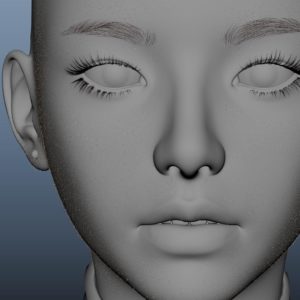
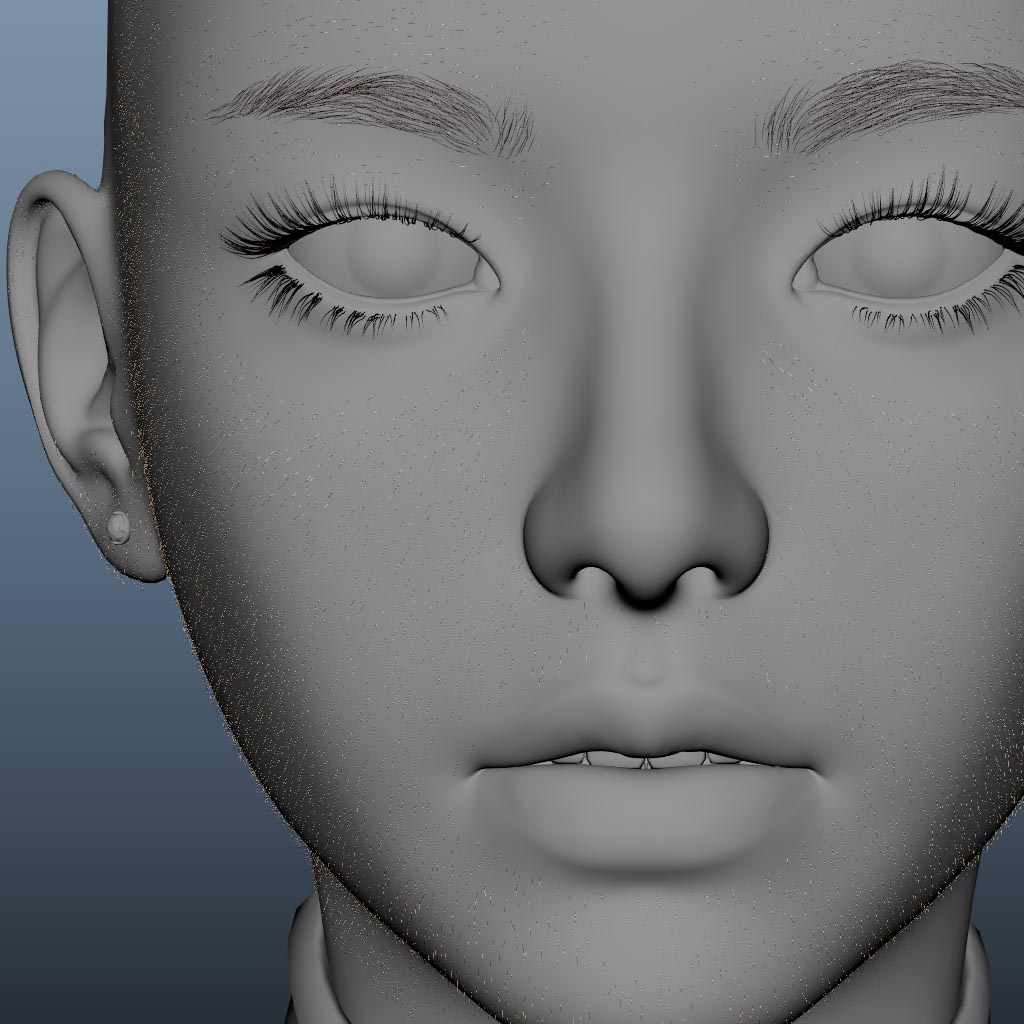
Using XGen’s versatility, he carefully sculpted the hair groom to achieve the desired style, tweaking settings to enhance realism.


Rigging and The Armor
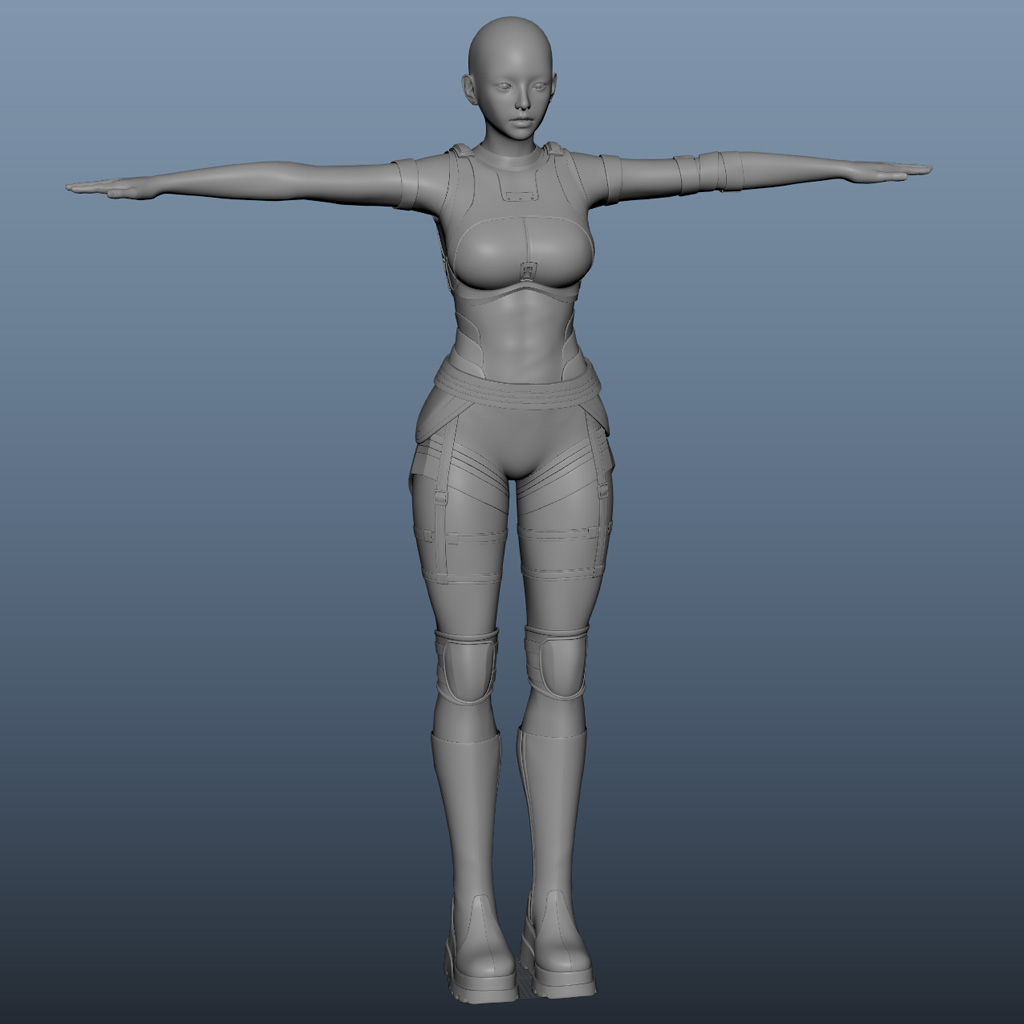
Despite it being years since his last rigging endeavor for production, Walter rose to the challenge and crafted a simple rig to pose HANA.
Initially, Walter envisioned HANA with a modern armor ensemble to showcase her strength and resilience. Although the armor production reached an acceptable level of completion, Walter pivoted towards a more simplistic yet elegant alternative.
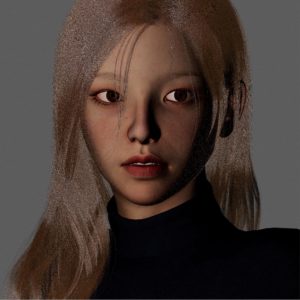
Opting for a cozy turtle neck sweater as HANA’s main outfit, he aimed to evoke a sense of warmth and approachability, reflecting her multifaceted personality.
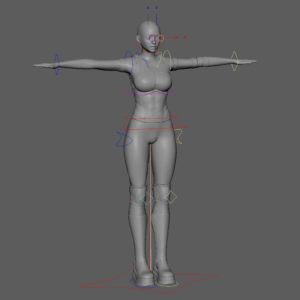
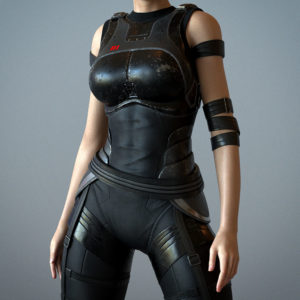


Throughout the process, Walter documented his progress with insightful images showcasing both the rig and the alternate armor outfit.
Lights and Render with Arnold
As we mentioned before, Walter uses a non-linear workflow for his projects. So the first render tests were done before even the texturing process started.
Walter used a HDRI on a “Skydome Light” to test render the model in the early stages. This process also helped him find the appropriate lighting for the final render.
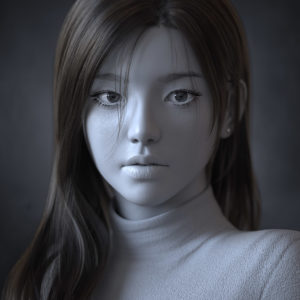

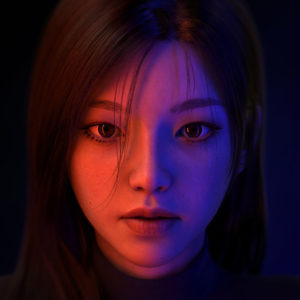


Here are some of the test images of HANA which gives us a great insight of the number of iterations needed for this type of project.
Walter also shared a rendered sequence where the lighting setup rotates around the character. Here you can see the details of the character in several lighting conditions.
Lastly, we want to thank Walter for sharing with us his knowledge and all the content to create this breakdown.
Project HANA stands as a testament to Walter’s unwavering passion, creativity, and technical skill as a Digital Artist. From the the concept to the final render, Walter’s attention to detail and dedication shine through every pixel.
Remember to stay connected with Walter on LinkedIn and Instagram to see more of his amazing work and follow his creative journey!

Ana is a Content Manager at Vertex Mode, where she brings together her love for storytelling and her expertise in digital strategy to create content that truly resonates with readers. With a strong background in content development and online publishing, Ana has a keen eye for what makes digital content engaging, informative, and shareable.
At Vertex Mode, Ana oversees the creation and curation of articles, features, and stories that connect with a wide audience of gamers, artists, and digital enthusiasts. She is passionate about blending creativity with strategy, ensuring that every piece of content not only inspires but also delivers real value. Whether it’s guiding editorial direction, fine-tuning SEO-driven strategies, or brainstorming fresh ideas for the blog, Ana plays a central role in shaping how Vertex Mode speaks to its community.
Her expertise includes content planning, keyword research, SEO optimization, and editorial management, but what truly sets her apart is her ability to find the human story behind every topic. Ana believes that strong content bridges the gap between information and connection, turning casual readers into engaged communities.
Through her work at Vertex Mode, Ana continues to push the boundaries of digital storytelling, helping to build a platform where creativity, innovation, and audience engagement come together in meaningful ways.