What is UE5?
Unreal Engine 5, the latest iteration of Epic Games’ renowned game development platform, has generated immense excitement in the gaming industry.
With its stunning graphics, innovative features, and enhanced performance capabilities, Unreal Engine 5 has become a go-to choice for developers around the world.
Installing Unreal Engine 5
If you’re eager to dive into game development with Unreal Engine 5, you’ll need to start by installing it. In this short article, we’ll walk you through the installation process step by step.
Unreal Engine System Requirements
System Requirements: Before installing Unreal Engine 5, it’s crucial to ensure that your computer meets the necessary system requirements. Unreal Engine 5 demands a powerful machine to harness its full potential. Here are the minimum requirements:
Operating System: Windows 10 64-bit or macOS 10.14.6 or later.
Processor: Quad-core Intel or AMD processor.
Memory: 16 GB RAM or more.
Graphics: NVIDIA GeForce GTX 1080/Quadro P5000 or AMD Radeon RX Vega 56.
DirectX: DirectX 12 compatible graphics card.
Storage: 100 GB free space on an SSD.
Epic Games Launcher Installation
Visit the Epic Games website (www.epicgames.com) and download the Epic Games Launcher.
Run the installer and follow the on-screen instructions to complete the installation process.
After installation, launch the Epic Games Launcher.
Create an Epic Games Account
If you don’t already have an Epic Games account, you’ll need to create one. Click the “Sign In” button and then select “Sign Up.”
Fill in your details and follow the account creation process.
Install Unreal Engine 5
In the Epic Games Launcher, navigate to the “Unreal Engine” tab on the left sidebar.
Click the “Install Engine” button.
Choose the installation location for Unreal Engine 5. Ensure you have enough space, as the engine requires a substantial amount.
Click “Install” to begin the download and installation process.
Wait for Installation
The installation process may take a while, depending on your internet connection speed and computer specifications.
Once the installation is complete, you will see a “Launch” button next to Unreal Engine 5.
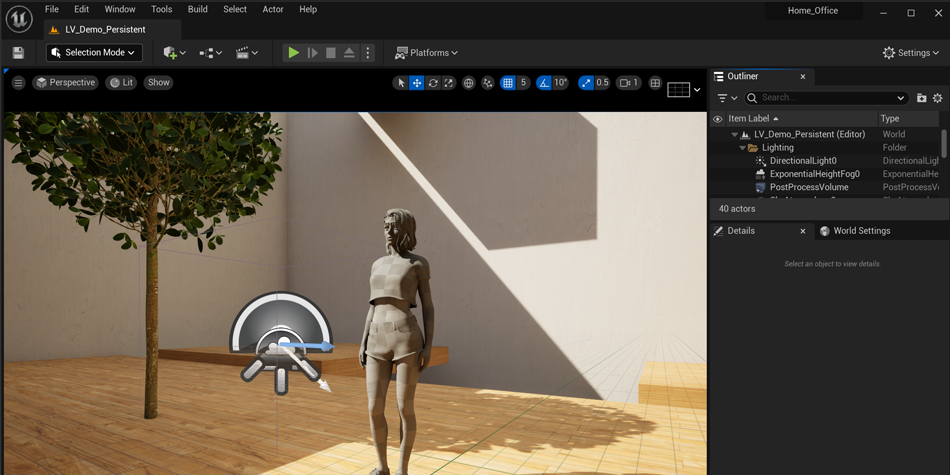
Launch Unreal Engine 5
Click the “Launch” button to open Unreal Engine 5.
You’ll be prompted to sign in with your Epic Games account if you haven’t already.
Once signed in, you can start exploring and using Unreal Engine 5 for your game development projects.
Setup a Project in Unreal Engine
Setting up projects in Unreal Engine 5 (UE5) is of course a crucial step in your game development journey. Here’s a step-by-step guide on how to create and set up a project in UE5:
Launch Unreal Engine 5
Open the Epic Games Launcher.
Click on the “Unreal Engine” tab on the left sidebar.
Click the “Launch” button next to Unreal Engine 5 to open the UE5 Editor.
Create a New Project
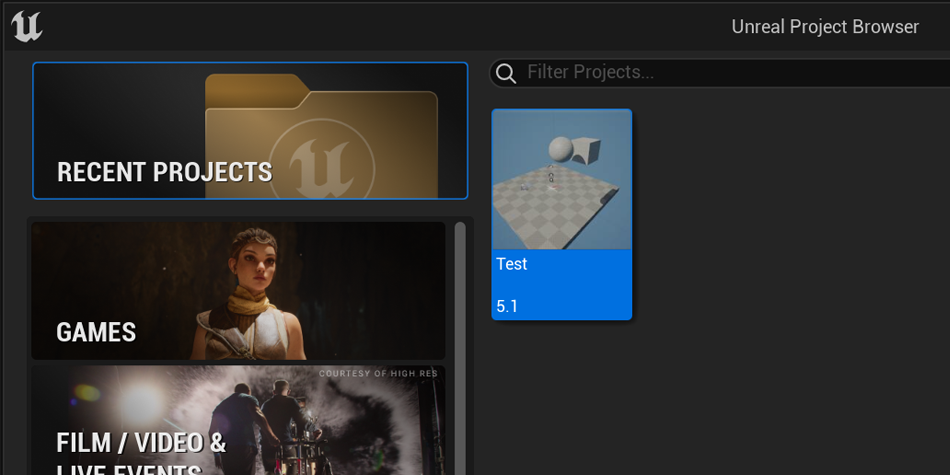
Once Unreal Engine version 5 is open, you’ll be greeted with the “Unreal Project Browser.”
Click on the “New Project” tab.
Choose a Template
Unreal Engine 5 offers several project templates to choose from, such as First Person, Third Person, Top Down, and more.
Select the template that best fits your project’s concept. You can also choose the “Blank” template if you prefer to start with a clean slate.
Configure Project Settings
After selecting to click Create a template, you’ll be prompted to configure project settings.
Enter a project name and specify the location where you want to save your project files.
You can also set other options, such as target platforms and quality levels. These settings can be adjusted later as well.
Project Content and Starter Content
You can choose whether to include “Starter Content” in your project. This option provides some basic assets and materials to help you get started.
You can also choose whether to include “Blueprint” or “C++” starter content. This depends on your programming preferences.
Create the Project
Once you’ve configured your project settings, click the “Create” button.
Unreal Engine 5 will then generate the project files and set up the initial project structure.
Explore the Project
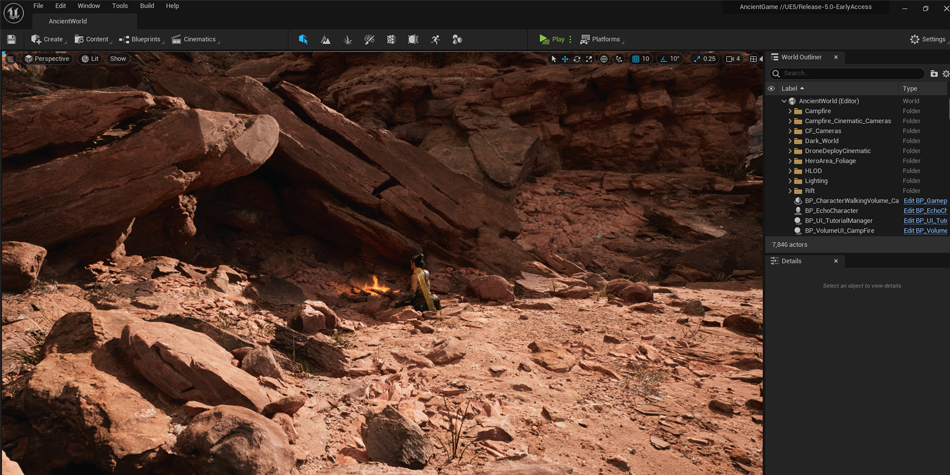
After the project is created, UE5 will open your new project in the Editor.
Take some time to explore the Editor’s interface and the project’s content.
Start Building
You’re now ready to start building your first game, or interactive experience.
You can begin your own projects by adding assets, creating levels, designing gameplay mechanics, doing tutorials, and more.
Regularly save your project to ensure you don’t lose any progress. You can use the “Save All” option or press “Ctrl + S” (or “Cmd + S” on macOS) to save your work.
Build and Test
As you make progress, you can use UE5’s built-in tools to build and test your project.
To play or simulate your project, click the “Play” button in the Editor.
Build for Deployment
When you’re ready to share your project or release it, you’ll need to package and build it for your target platform(s). This process is more advanced and involves configuring platform-specific settings.
Remember that Unreal Engine 5 is a powerful and complex tool, so don’t hesitate to refer to the extensive documentation, tutorials, and the UE5 community for guidance as you work on your first project together.
The more you explore and experiment, the more you’ll learn about UE5’s capabilities and how to make the most of them in your game development journey.
How to Develop Games in Unreal Engine 5
Developing games in Unreal Engine 5 (UE5) is an exciting and creative process, of course, but it can also be complex due to the power and flexibility of the engine. Here’s a step-by-step guide to help you get started with game development in UE5:

1. Learn the Basics
Before diving into game development with UE5, it’s essential to have a solid understanding of the engine’s fundamentals. Familiarize yourself with UE5’s interface, terminology, and core concepts. You can find comprehensive documentation and tutorials on the Unreal Engine website.
2. Define Your Game Concept
Clearly define your game concept, including its focus, its genre, gameplay mechanics, story, and art style. Having a focus and a well-defined concept will guide your development process.
3. Create a Project
As mentioned in the previous response, create a new project in UE5 using a template that aligns with your game concept.
4. Build Levels and Environments
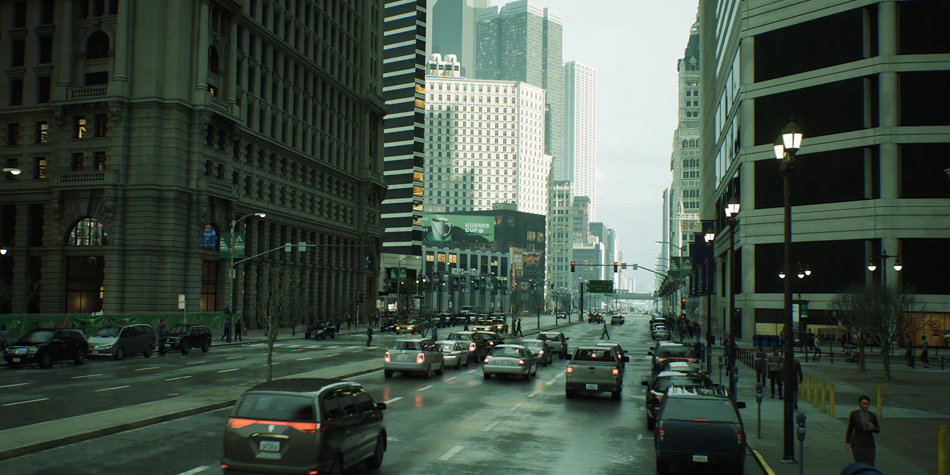
UE5 excels at creating rich and immersive environments. Use the level design tools to construct the game with an open world, including landscapes, terrain, buildings, and props.
5. Import Assets
Import 3D models, textures, audio, and other assets into your project. UE5 supports various file formats for assets, and you can also create assets directly within the engine using tools like the Unreal Editor.
6. Blueprint Visual Scripting
Unreal Engine’s Blueprint visual scripting system allows you to create gameplay mechanics without writing code. Learn how to use Blueprints to define character behavior, interactions, and game rules.
7. Scripting with C++ (Optional)
For more advanced game logic and performance optimization, you can use C++ programming in UE5. Learn the basics of UE5’s C++ API and integrate it into your project as needed.
8. Design Gameplay
Implement player controls, character movement, combat systems, and other core gameplay features. Test and iterate on these mechanics to ensure they are engaging and fun.
9. Create Assets
Develop and fine-tune 3D models, animations, textures, and sound effects to populate your game world and bring it to life.
10. Lighting and Visual Effects
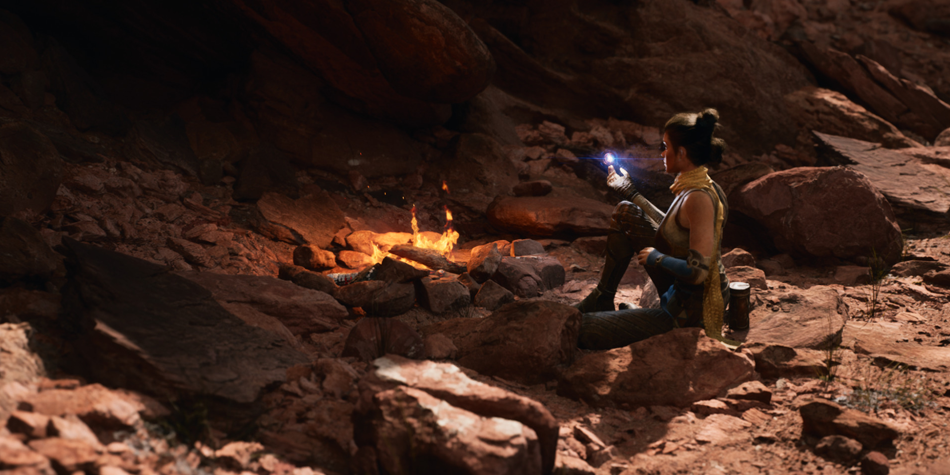
UE5 offers powerful lighting and visual effects tools. Experiment with lighting, particle systems character animation, and post-processing effects to enhance the visual quality of your game.

11. Testing and Debugging
Regularly playtest your game within the engine to identify and fix bugs, glitches, and balance issues. UE5 provides debugging tools and an easy-to-use interface to help you diagnose problems.
12. Optimization
Optimize your game’s performance to ensure it runs smoothly on target platforms. UE5 provides profiling and optimization tools to help you achieve this.
13. Packaging and Deployment
When your game is ready for distribution, package it for your target platforms (PC, console, mobile, etc.). Follow platform-specific guidelines for submission and release.
14. Community and Resources
Join the UE5 community through forums, social media, and game development communities. Engaging with others can provide valuable insights and assistance.
15. Continue Learning
Game development is an ongoing learning process. Stay updated with UE5’s new features and improvements, as well as industry trends.
Remember that game development can be a complex and time-consuming endeavor. Patience and persistence are key.
Start with smaller projects to build your skills and gradually work your way up to creating larger, more ambitious games.
UE5 offers a wealth of free learning resources and a supportive community to help you along the way. Good luck with your game development journey!
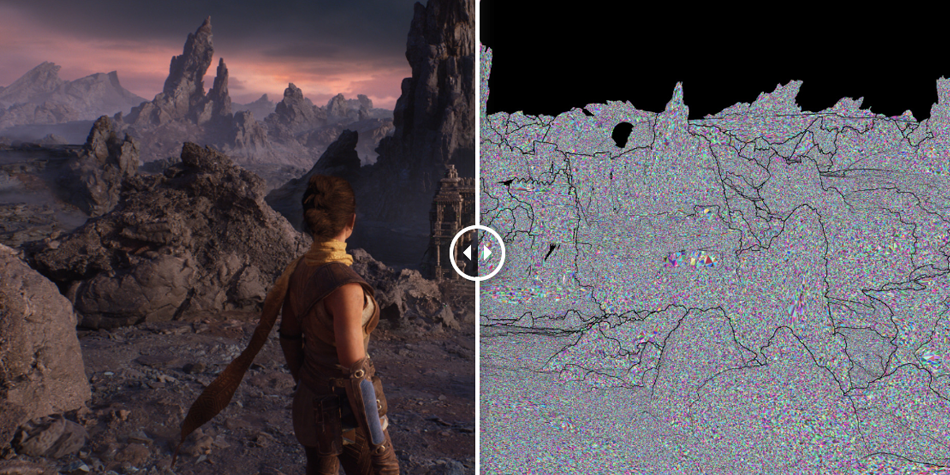
What is UE5 Lumen?
Unreal Engine 5 (UE5) Lumen is a cutting-edge global illumination and lighting technology introduced by Epic Games, the developer of Unreal Engine 5. Lumen represents a significant leap forward in real-time rendering and lighting within the engine. It’s designed to provide developers with more realistic, dynamic, and immersive lighting in their projects.
Here are some key features and aspects of UE5 Lumen:
Real-Time Global Illumination
Lumen achieves real-time global illumination, meaning that light bounces and interacts with surfaces and objects in the scene dynamically as you move or change the environment. This creates highly realistic lighting conditions that respond to both static and dynamic elements in your game or application.
Ray Tracing Integration
Lumen integrates with Unreal Engine’s existing ray-tracing technology, allowing for ray-traced reflections of directional light, shadows, and ambient occlusion. This combination of ray tracing and Lumen’s real-time global illumination produces stunning visuals with accurate lighting and shadows.
Virtualized Geometry
UE5’s virtualized geometry system enables highly detailed, expansive worlds with minimal memory overhead. It allows for the streaming and rendering of complex geometry only when it’s needed, optimizing performance.
Nanite Virtualized Geometry
Nanite is a core technology in UE5 that works seamlessly with Lumen. It allows artists and developers to use highly detailed, film-quality 3D assets in real-time environments without the need for traditional LOD (Level of Detail) techniques.
Artist-Friendly Workflow
Lumen is designed to be accessible to artists and level designers. It provides tools and features that make it easier to achieve high-quality lighting without extensive technical knowledge.
Dynamic Lighting
Lumen’s dynamic lighting capabilities extend to the reflections system both movable and stationary objects, making it possible for a game developer to create fully dynamic scenes with realistic lighting and reflections of different actors.
Enhanced Creative Control
With Lumen, developers have more control over how light behaves in their scenes. They can manipulate light sources, materials, and settings to achieve specific visual effects and moods.
Improved Efficiency
While Lumen offers impressive visual quality, it’s designed to be efficient, ensuring that your project runs smoothly even with complex lighting setups.
UE5 Lumen is a significant advancement in real-time rendering and lighting technology, and it empowers developers to create visually stunning and immersive experiences.
Difference Between Textures and Materials
In Unreal Engine, textures and materials are both essential components for creating realistic and visually appealing 3D environments and objects, but they serve different purposes and have distinct roles in the rendering pipeline. Here’s an explanation of the differences between textures and materials in Unreal Engine:
Textures
- 2D Images: Textures are 2D images that are applied to the surfaces of 3D objects to give them detail, color, and visual information. These images can be in various formats, such as PNG, JPEG, TIFF, or more specialized formats like TGA or EXR.
- Visual Information: Textures contain visual data, such as colors, patterns, surface details, and transparency (alpha information). They provide the surface appearance of objects, including diffuse colors, specular highlights, normal maps, roughness, and more.
- Mapping Coordinates: Textures are mapped onto 3D objects using UV mapping coordinates. These coordinates define how the 2D texture should be wrapped around the 3D surface, allowing for precise placement and scaling.
- Common Types: Common texture types in Unreal Engine include Diffuse/Albedo (for base color), Normal Maps (for surface details and lighting), Specular Maps (for surface shininess), Roughness Maps (for surface roughness), and more.
- Texture Samplers: Unreal Engine includes texture samplers that allow you to control how textures are sampled and applied to objects, affecting aspects like tiling, filtering, and mipmapping.
Materials

- Shader Instructions: Materials are a collection of shader instructions and settings that define how light interacts with the surface of 3D objects. They provide control over various visual properties, including shading, reflections, transparency, and more.
- Combining Textures: Materials often include one or more textures as components. These textures are combined and manipulated within the material to create the final appearance of the object. For example, a material might use a base color texture, a normal map, and a roughness map to determine how light interacts with the surface.
- Material Instances: Unreal Engine allows you to create material instances, which are copies of materials with some parameters exposed for easy tweaking. This enables you to create variations of materials without creating entirely new ones.
- Advanced Effects: Materials can be used to create advanced visual effects, such as refraction, subsurface scattering, and displacement mapping. These effects go beyond what can be achieved with textures alone.
In summary, textures provide the visual data and details that give surfaces their appearance, while materials define how light interacts with those surfaces.
Materials combine textures with shader instructions to produce complex and dynamic visual effects. Understanding how to use both textures and materials effectively is essential for achieving high-quality graphics in Unreal Engine and other 3D rendering environments.
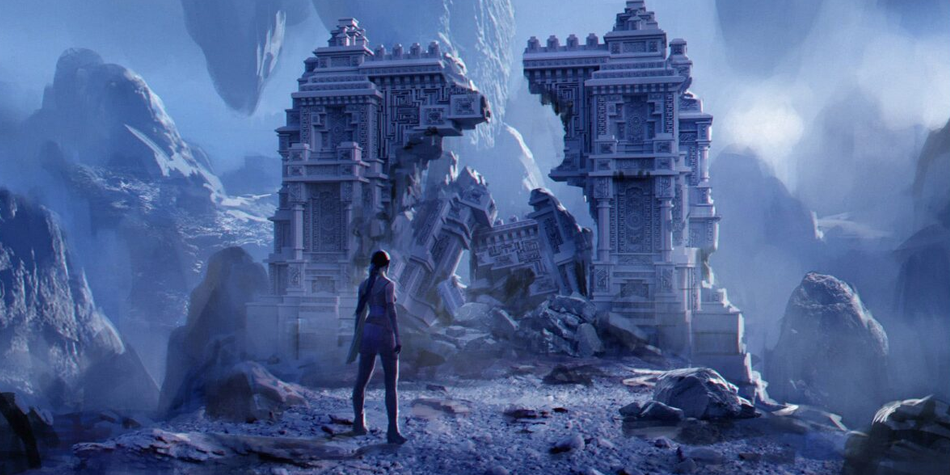
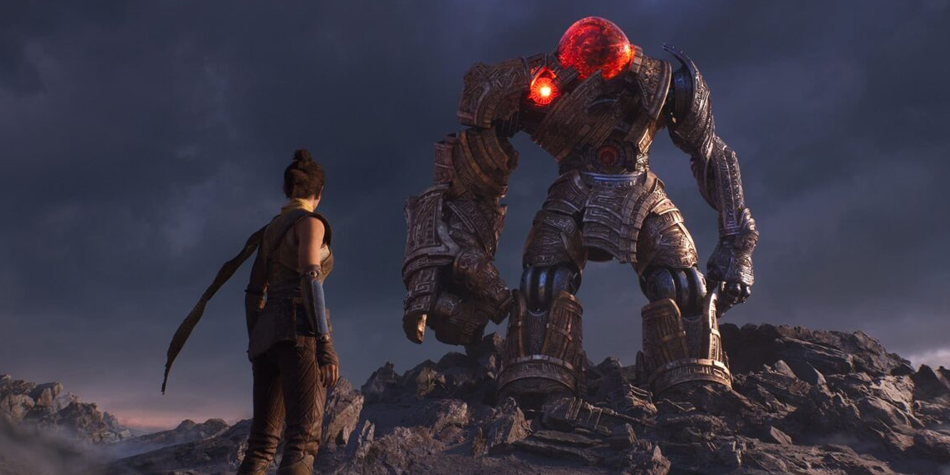
Unreal Engine 5 Main Features
Nanite Virtualized Geometry
Nanite is a revolutionary technology that enables artists and developers to use highly detailed, film-quality 3D assets in real-time environments without traditional LOD (Level of Detail) techniques. It allows for incredibly detailed and expansive worlds with minimal memory overhead.
Lumen Global Illumination:
Lumen is a real-time global illumination and lighting system that offers dynamic, realistic lighting, a reflection system, and global illumination. It brings unprecedented realism to UE5 projects, allowing light to interact dynamically with objects and surfaces.
World Partition:
World Partition is an automatic, level design and streaming system that allows for the creation of vast open worlds with efficient loading and unloading of content as the player moves through the environment. It optimizes memory usage and streamlines level management.
Chaos Physics:
Unreal Engine 5 includes the Chaos Physics system, which offers realistic physics simulations for objects and characters. It allows for more accurate and dynamic interactions, including soft-body physics and advanced destruction effects.
Niagara VFX System:
Niagara is a powerful visual effects system in UE5 that provides artists and developers with enhanced control over particle simulations and complex visual effects. It allows for the creation of stunning and dynamic visual elements.
Virtual Shadow Maps:
Virtual Shadow Maps improve the rendering of dynamic shadows in UE5, providing better quality and performance for real-time shadowing.
Improved Animation Tools:
UE5 offers improved animation tools, including a revamped animation system, animation rigging improvements, and an animation-driven physics system.
NVIDIA DLSS Support:
UE5 includes support for NVIDIA’s Deep Learning Super Sampling (DLSS) technology, which enhances performance and image quality in supported hardware.
Datasmith for Improved CAD Import:
Datasmith simplifies the process of importing CAD data into Unreal Engine, making it easier to work with architectural and engineering designs.
Integration with Quixel Megascans:
UE5 integrates seamlessly with Quixel Megascans, providing access to a vast library of high-quality 3D assets and materials for game development and architectural visualization.
Cross-Platform Development:
UE5 supports cross-platform development, allowing developers to create games and applications for a wide range of platforms, including PC, consoles, mobile devices, VR, and AR.
These features, among others, make Unreal Engine 5 a powerful and versatile tool for game developers, filmmakers, architectural visualizers, and various other industries. It enables the creation of highly detailed, immersive, and visually stunning experiences with improved performance and workflow efficiency.
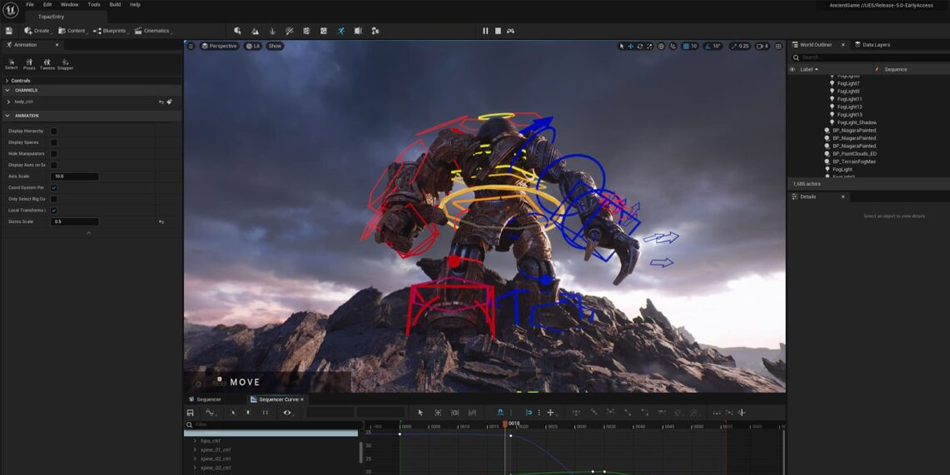
The Blueprint Editor
The Blueprint Editor is a powerful and user-friendly way to design and implement game functionality without the need for traditional programming languages like C++. Here’s an overview of the Blueprint Editor and its key features:
Visual Scripting
The Blueprint Editor allows you to create scripts using a node-based visual scripting language. Instead of writing lines of code, you connect nodes representing different functions and events to define the behavior of objects and characters in your game.
Node-Based System
The Blueprint Editor relies on a system of nodes that represent various actions, conditions, and events. You connect these nodes to create a flowchart-like script. Nodes can range from simple tasks like setting a variable’s value to complex functions like character movement and AI behavior.
Custom Blueprint Classes
Unreal Engine allows you to create custom Blueprint classes, which are reusable templates for objects and actors in your game. You can define the behavior of these classes using Blueprints.
Integration with C++
Blueprints and C++ can be used together in UE5. You can write C++ code for performance-critical functions or when you need more advanced capabilities and then expose those functions to Blueprints, allowing you to use them within your visual scripts.
Blueprint Communication
Blueprints can communicate with each other and with C++ code, allowing for complex interactions between different parts of your project.
Asset Creation
You can create Blueprint assets for various in-game elements, including characters, objects, weapons, and more. These assets encapsulate both visual and functional components.
The Blueprint Editor is highly accessible and is a valuable learning tool for designers, artists, and developers who may not have extensive programming experience but want to create interactive and dynamic gameplay experiences.
It allows for rapid prototyping and iteration by game developer, making it an essential part of Unreal Engine’s toolkit for game development.

Nyx is an editor at Vertex Mode and a passionate 3D artist with years of experience in both gaming and film. With a deep love for digital art and visual storytelling, Nyx brings a unique blend of technical expertise and creative vision to every project. From sculpting detailed characters to designing immersive environments, their work reflects a commitment to pushing the boundaries of what’s possible in 3D design.
At Vertex Mode, Nyx not only oversees content but also shares valuable insights into the world of digital art and the creators behind it. They believe that every artist has a story worth telling, and through thoughtful articles and features, Nyx highlights the talent, challenges, and inspiration that shape the creative industry. Their perspective as a working 3D artist allows them to connect with readers in a way that feels both authentic and relatable.
Nyx’s expertise spans across concept development, modeling, and animation for both gaming and cinematic experiences. By blending artistry with technical precision, they continue to explore how digital tools can unlock new creative possibilities.
Through Vertex Mode, Nyx aims to inspire both aspiring and professional creators, offering resources, insights, and encouragement to thrive in the ever-evolving world of digital art.